Viewing Imagery
Use the Imagery panel to select the imagery you want to view in the map viewport.
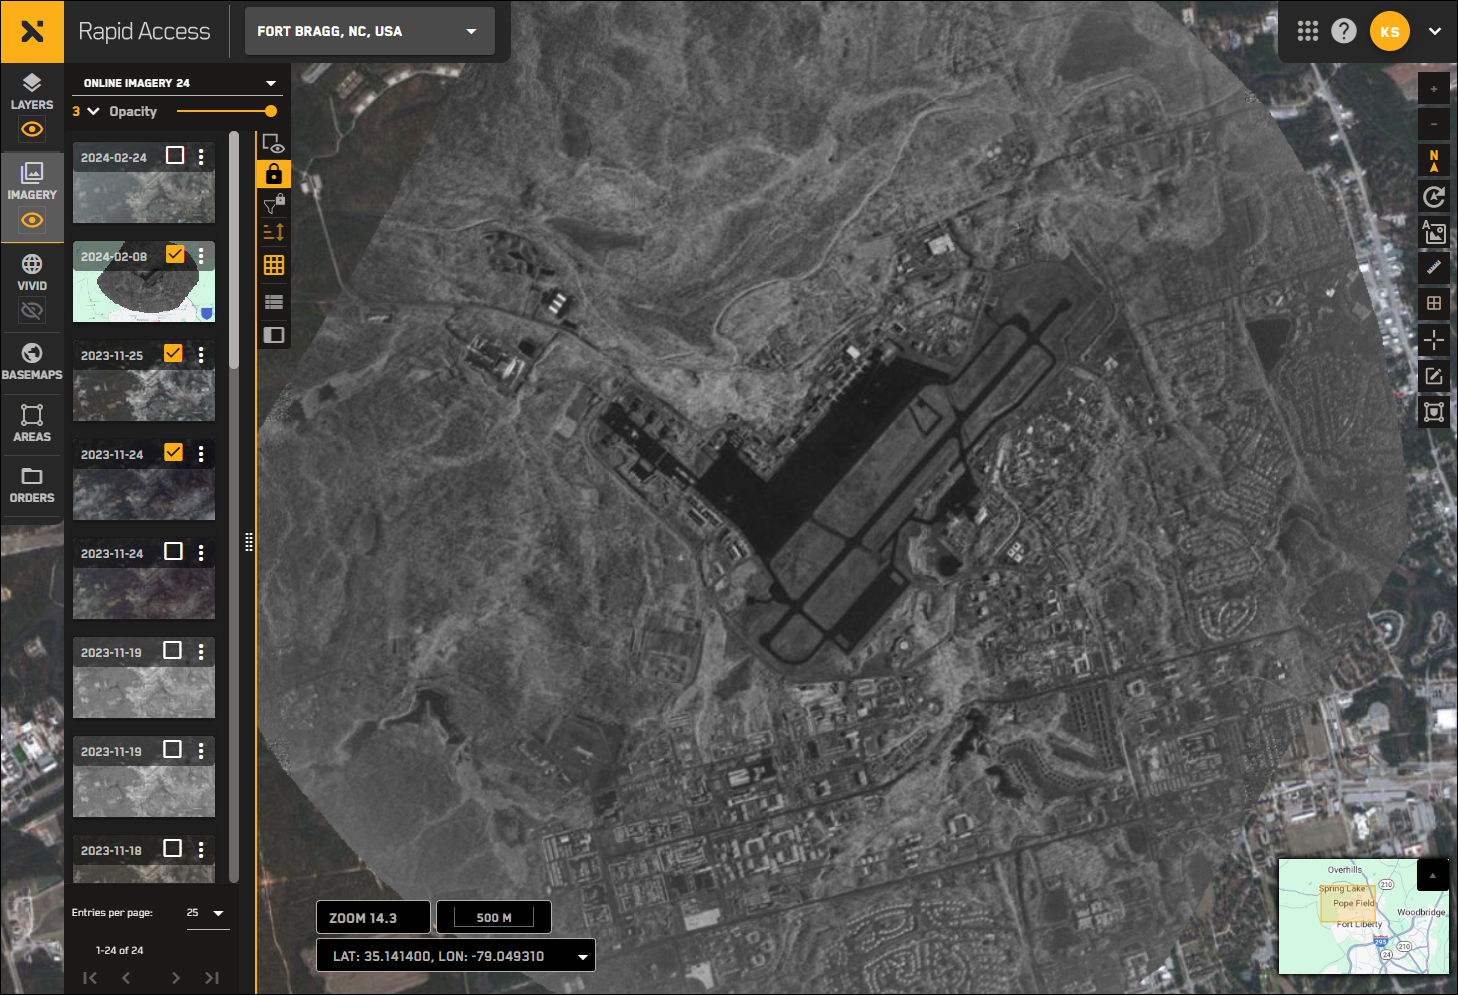
The Imagery panel is open by default. Imagery appears at zoom level 11 and above.
To view imagery in Rapid Access, you must be sure that:
The Imagery panel is open
You are zoomed in to Level 11 or higher
Imagery is visible

Toggling Imagery
Imagery is on by default. If you want to hide all imagery, select the Imagery visibility icon.
Hiding imagery ![]() will turn off all imagery in the viewport, regardless of the current lock state. When hidden
will turn off all imagery in the viewport, regardless of the current lock state. When hidden ![]() , imagery still displays in the Imagery panel, but it does not display on the map.
, imagery still displays in the Imagery panel, but it does not display on the map.
Using the Imagery Panel
Select Imagery. The Imagery panel opens.
Locate the area on the map where you want to view imagery, then zoom to Level 11 or higher.
When you reach zoom level 11, imagery populates in the viewport and loads in the Imagery panel, sorted chronologically from newest to oldest.
You can see your current zoom level at the bottom of the Rapid Access interface. If you are not zoomed in enough to view imagery, an alert displays in the Imagery panel.
If you are at a close enough zoom level and imagery still does not appear in the Imagery panel, check to make sure the Imagery panel is visible
.
Imagery will not populate if:
You are not at zoom level 11 or higher.
To resolve this issue, zoom in using your mouse or the zoom in buttons in the interface. See Zooming and Panning.
The Imagery panel has been turned off
 , either manually or automatically.
 To resolve this issue, turn the Imagery panel back on
.The Imagery panel has been locked
 , either manually or automatically. This will prevent new imagery from loading over an area.
To resolve this issue, unlock
 the Imagery panel. If you area zoomed in to level 11 or higher, new imagery will now load over the area. See Locking and Unlocking the Imagery Panel.
Filters are turned on
 and are filtering out some or all of the available imagery in an area.
To resolve this issue, open the Filters panel and change your filter settings. See Filtering Imagery.
The Owned Imagery filter is turned on by default for online imagery. Owned imagery includes all data that you've have tasked or ordered and have already paid for. This includes access window tasking, target tasking, and archive imagery orders that were placed at any point going back to the beginning of your RAP's relationship with Maxar.
If you do not see imagery in an area, try clearing the Owned Imagery checkbox in the Filters dialog.
Viewing Private Imagery
Private imagery is only visible to users on your Rapid Access account. Private imagery includes all SAR imagery, any EO imagery collected via access window or target tasking that is marked private, and any reprocessed private imagery.
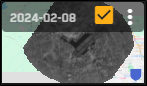
You can easily identify private imagery in the Imagery panel because it is marked with a blue shield icon.
Select Imagery. The Imagery panel opens.
Locate the area on the map where you want to view imagery, then zoom to Level 11 or higher.
(Optional) Use imagery filters to filter for private imagery. See Filtering Imagery.
Locate a private image. Private images are marked with a blue shield.

More Information about Imagery
The Imagery panel is open by default. To close the Imagery panel, select Imagery again.
When using card view at lower zoom levels (13.9 – 11), the Imagery panel displays a metadata overlay. You will see thumbnails when you zoom in to level 14 or higher. See Card View Below Zoom Level 14: Imagery Metadata.
Archive imagery displays in reduced resolution.